Decorating & Design
November 28, 2019
Follow These 10 Rules For Great Lighting In Your Space
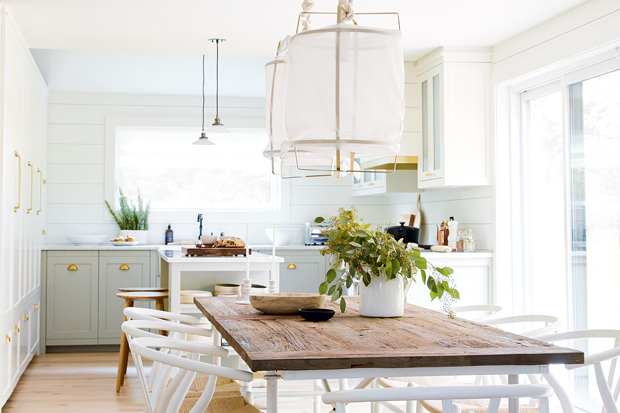
Designer and color expert Janice Lindsay shares her best tips and tricks!
 The most beautiful rooms can be made ugly with bad lighting, and the ugliest rooms can be made beautiful with good lighting. So, as a color designer, it’s heartbreaking to walk into a newly renovated space and know immediately that the lighting is all wrong — expensive, but wrong. It not only looks bad, it feels bad. We are biologically plugged into light, like a lamp into a socket. Light affects our energy levels, our mood, our sense of well-being, and it can make or break all our decor color choices — from walls to art to upholstery. Here are 10 lighting essentials.
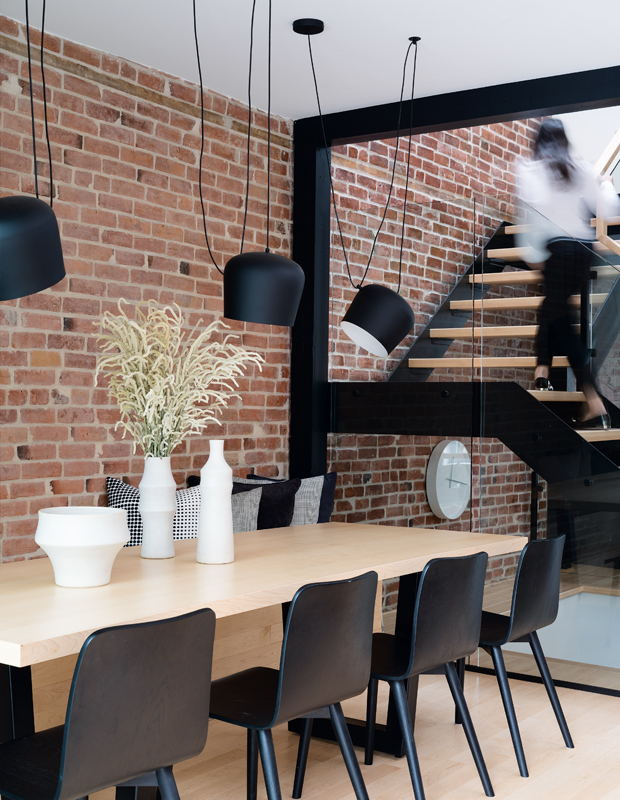
1. Install Lighting Where You Need It
It sounds so simple, but it’s done so seldom. Fact: architects and contractors often arrange lights in the symmetrically aligned grids that look great on a floor plan. Their one-size-fits-all approach tries to get even light everywhere just to be “safe.” Even lighting is uncomfortable and is best suited to hospitals and offices. Position pot lights to illuminate what you want to light and where. Reduce your costs and improve your results with a more tailored strategy.
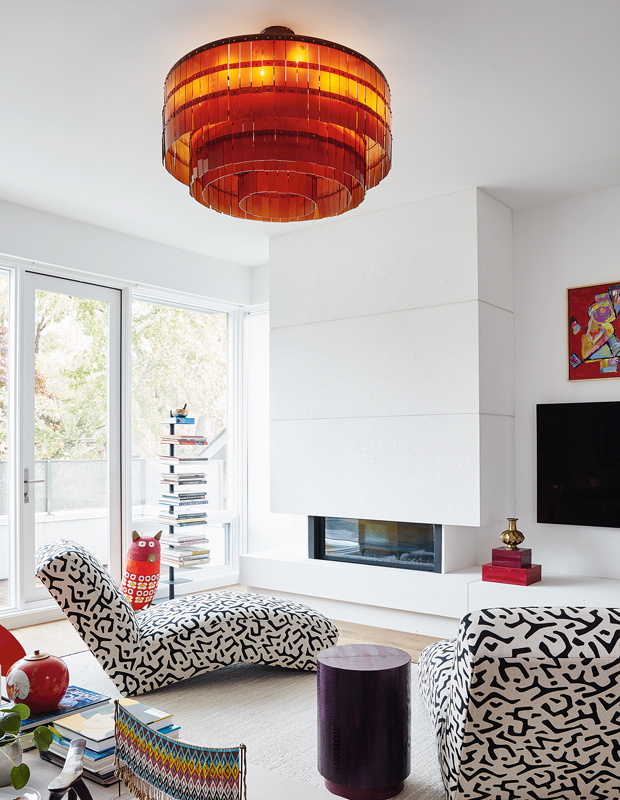
2. Put All Interior Lighting, Except In Your Storage Areas, On A Dimmer
Being able to vary the strength of light to suit your task or mood is important. People are quieter and calmer when lights are dimmed. Eat by candlelight if you want the kids to go to bed early.
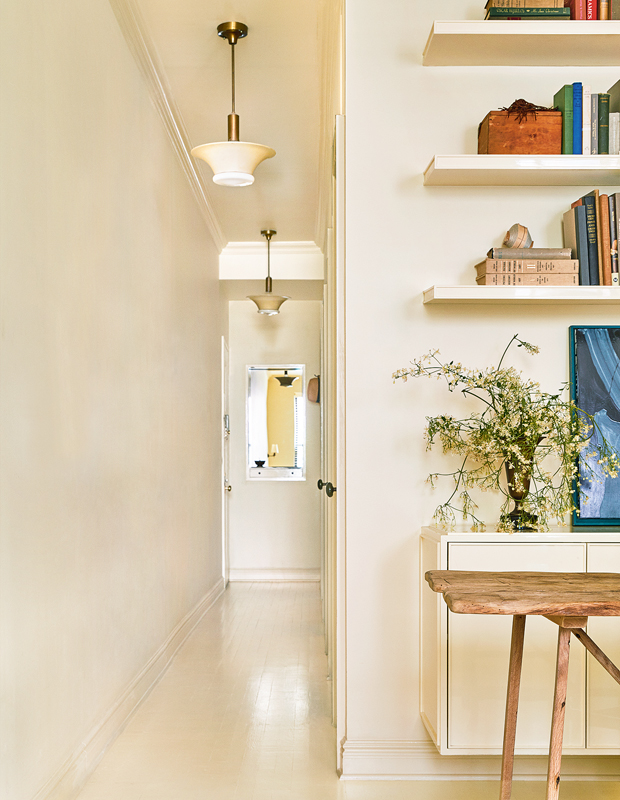
3. Add Light To Add Space
Adding light to dim areas, upstairs hallways and living room corner areas will open them up, creating a new sense of spaciousness. Pet peeve: low-ceilinged bedrooms with one center ceiling light. If there isn’t the height for a great ceiling fixture, install pot lights. Light reflecting off the walls will create more space!
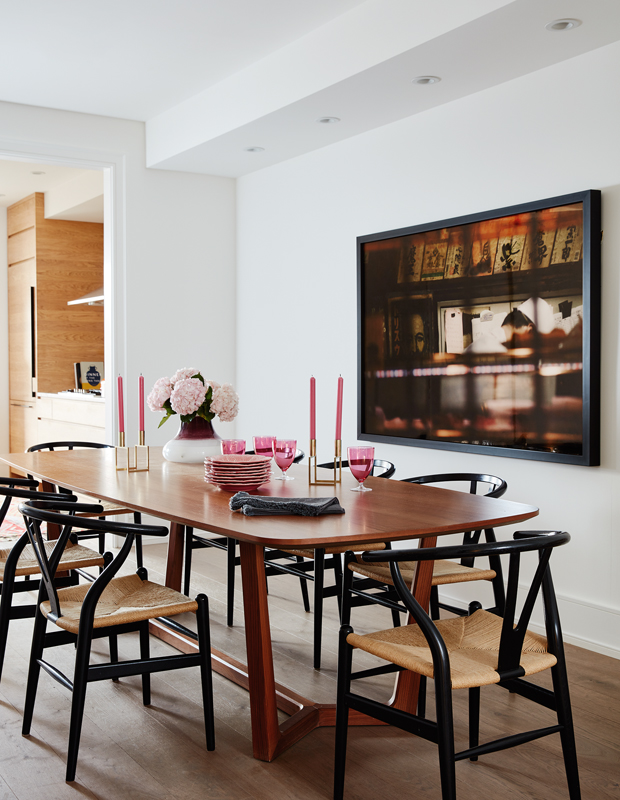
4. Different Switches
Separate pot lights onto switches by function: group lights that highlight art and objects on a separate switch from reading or general lighting so their brightness can be controlled separately to create different moods or “scenes.” (I have my kitchen/dining room lights programmed into a Grafik Eye lighting control system, so I can hit one button for a scene change.)
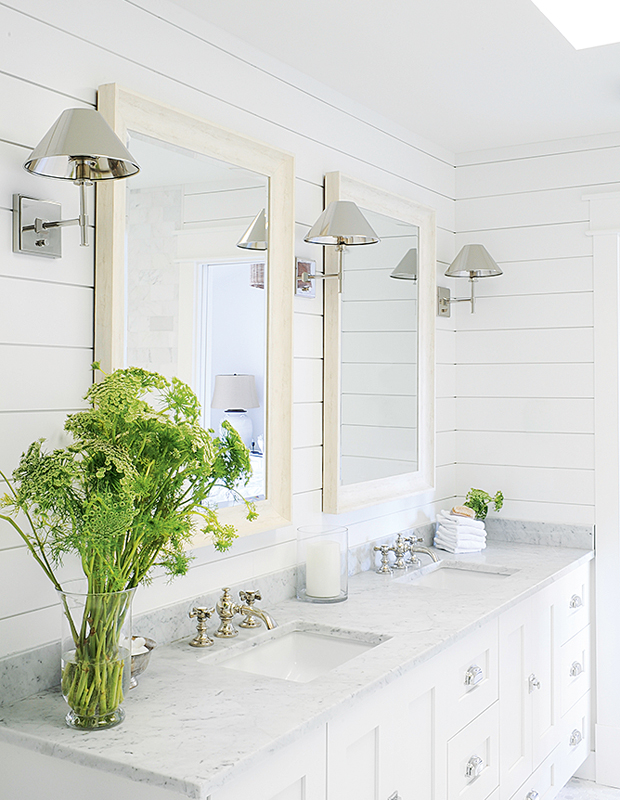
5. Buy Your Decorative Lights, Especially Wall Sconces, At The Beginning Of The Renovation Process
I’d be rich if I had a dime for every time an electrician blasted through the reno zone installing all the wiring and octagon boxes with efficient speed, not knowing what fixtures are planned. Consequently, electrical boxes for wall sconces are always too high. You end up either paying to lower them or buying new fixtures to compensate. And no one is happy. If you can’t buy your lights ahead, at least choose them and download the specs. Bathroom side light sconces should sit at eye level. If the mounting plate is in the middle of the fixture, place the octagon box about 66 inches from the floor. Heights for bedside wall-mounted lights will depend on the height of your bed. As a general rule, install them about 52 inches from the floor. They should be low enough so there’s no bare bulb shining in your eyes when you’re reading in bed.
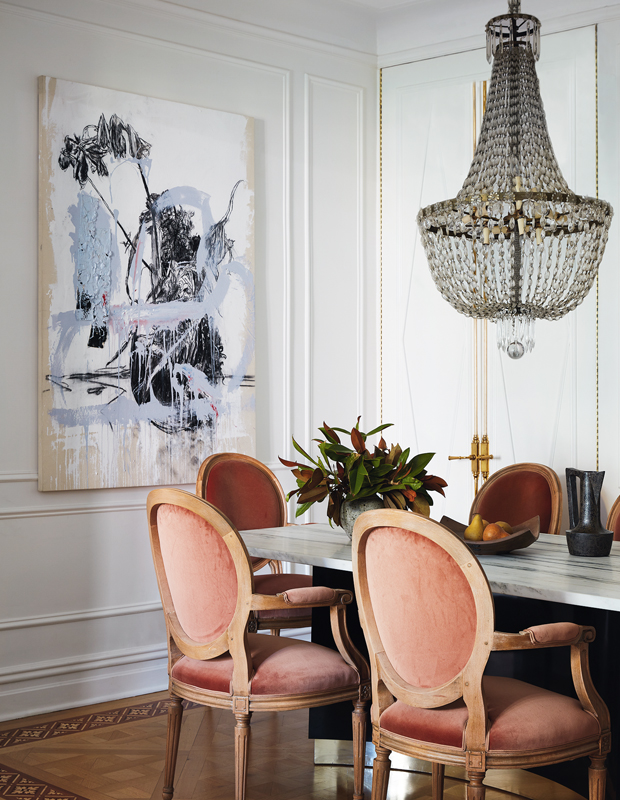
6. Don’t Hang Your Pendants Too High
Between 36 and 40 inches above your table is good for the lowest point of most dining room fixtures. Over-counter lights should sit just above eye level. Be there when they’re being hung and adjust to suit.
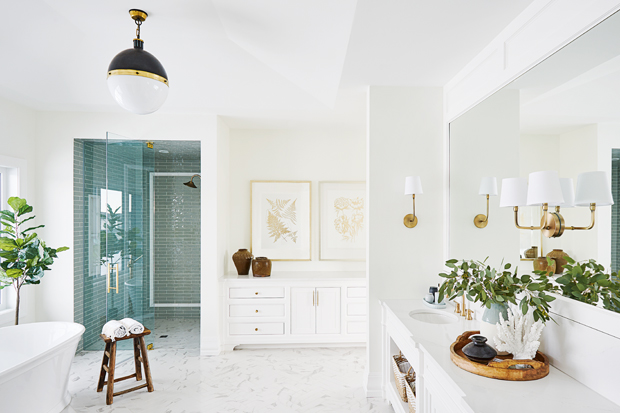
7. It’s What’s Inside That Counts
Daylight is perfectly color-balanced light. Its full spectrum means wavelengths of every color are present. It has a color rendering index (CRI) of 100, so every color looks good, and the light feels good. Many artificial lights are not well-balanced. Fluorescents, for example, are often weak in the warm-colored zone. Good lightbulbs have a CRI of at least 80. If you buy inferior bulbs, your walls, your art and even your skin tones will look lurid and unpleasant. You get what you pay for, so buy good brands — Sylvania, Philips or, my favorite, Soraa — and see and feel the difference.
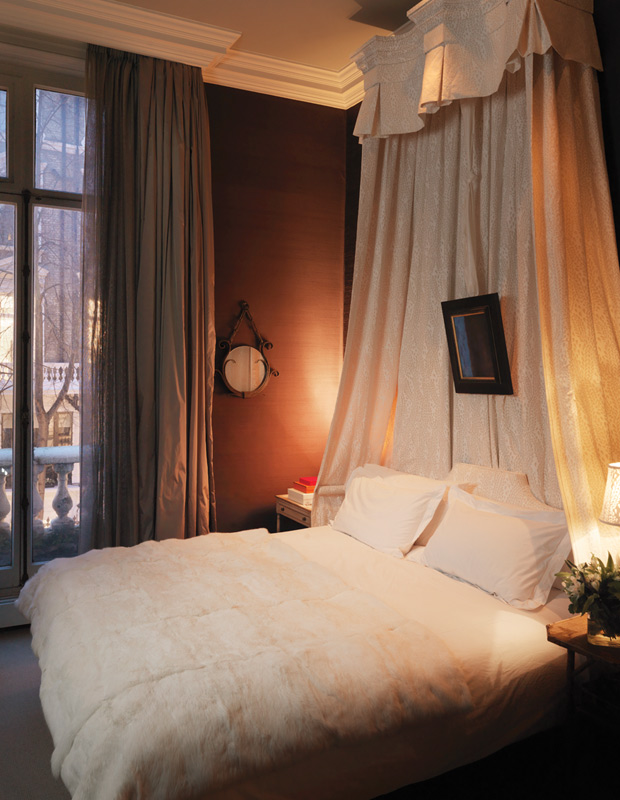
8. Do I Want Warm Lighting? Yes!
Pay attention to the Correlated Color Temperature (CCT) of your light. With LEDs, it’s important to know the industry standard for “warm” light is 3,000 degrees kelvin. But this is warm only by comparison to “hospital cold,” 4,000 to 5,000 degrees kelvin. If you want something closer to your old incandescent bulbs, buy 2,700 degrees kelvin. Most dimmable LEDs do not get warmer as they dim. Pay the extra to get dim-to-warm bulbs — it’s worth it! And remember to get an LED-compatible dimmer.
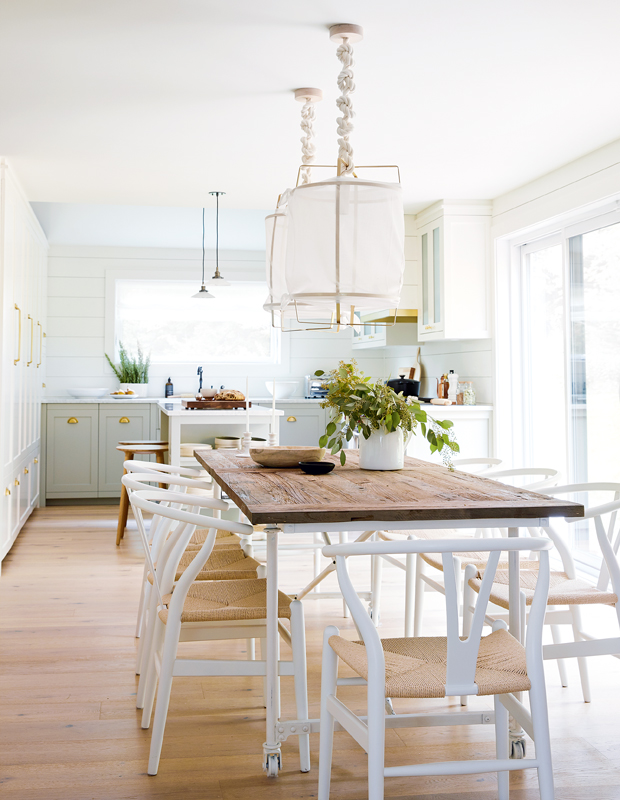
9. Forget Watts; You’re Buying Lumens
Calories are to food like watts are to light. Calories are a unit of energy, often mistaken for fat. Watts are a unit of power, often mistaken for brightness. Lumens, based on candles, measure brightness. (See below for incandescent to LED conversions.)
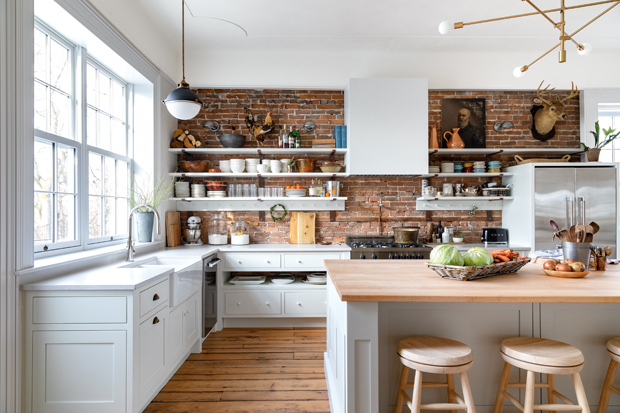
10. Variety Is The Spice
Beautiful rooms feature light from a variety of heights and sources. Even bathrooms and kitchens benefit from mood lighting. In a world of harsh energy-efficient lighting, it’s more important than ever to get cozy comfort from lamps, string lights, salt lights and candles. Money spent on good lighting is never a waste. Think of it as putting high-grade fuel in your biological tank and feel the difference every single day!
House & Home April 2019